QuickStart CC Sphere
Prepare Instrument - critical setting!
Select the proper aperture and set all critical parameters in the internal Instrument setup! This instrument comes with three apertures:
- M (medium) - 11mm
- S (small) in two versions of 6 mm and 3x1 mm
1. Aperture hardware Switch
Be sure to set the proper position of the hardware mechanical switch! The software is NOT capable of changing it.

2. Aperture Selection in Instrument internal menu.
In the second step, go to the internal setting, and in "Measurements," define the selected aperture. The instrument cannot verify if the proper combination is defined - the user is responsible for the potential mismatch. It is important to understand that instrument can measure even if it happens.
3. After any Aperture changes - a NEW calibration is MANDATORY.
Whenever you want to change the aperture, disconnect the instrument from the connection with the computer and perform all steps with new calibration at the end. Take into account that proper calibration has a huge impact on results. It contains two steps:
- White point calibration - on a ceramic tile in an instrument shoe.
- Black point calibration (open port) - where the instrument should point open space (min 1m)
For the White - take care of ceramic tile - it has to be free of dust and scratches.
For the Black - perform it in a dark area avoiding exposure to any external light sources - the goal is the black point!
Aperture 3x1
Please note that this aperture is for a specific purpose only when there is no way to use 6 mm. Measurements are less accurate, and the decision to use 3x1aperture has to consider limitations. Don't expect identical results and data exchange.
Please note that the measurement area of the 6 mm aperture is more than 37 times bigger than the 3x1. The 3x1 can be used only if there is no other chance and it requires a separate reference.
Understand Spherical Instrument
Whenever you have any reference - in any format, Lab, or spectral it is very important to understand how this reference has been made - what kind of instrument, and what color specification has been defined.
Data created with different
- Geometry
- Aperture
- Measurement Condition
- Backing ( for non-opaque objects)
- Calculated to specific Observer and/or Illuminant (for colorimetrical aim points)
ARE NOT EXCHANGABLE!
No formula can"translate" one data to another.
Please note:
- CC Sphere has internal UV that can be switched on/off by CC Capture - but this is NOT equal to M1 and M2 Measurement Conditions.
- The printing Industry uses 0/45 and 45/0 geometry and D50/2° in 99,9% of cases. Most standards, ICC profiles - all common references are created in a way that cannot be straightly compared with spherical measurements offered by DC-700D or any other spherical instrument!
- Working with Print Industry, Color Libraries has the same issue - they cannot be translated - if cC Capture reports the closest value - it might be inaccurate. For Quality Control and Process Control with spherical instruments, custom references have to be recreated with this instrument.
Connecting with a USB cable
The current version of CC Capture can connect only using a wire USB connection (a Bluetooth version is under development and will be published as soon as it passes tests).
Before launching CC Capture, turn the Instrument on. The ChromaChecker version of DS-700D comes with the ChromaChecker logo on the welcome screen. Only such version has firmware required by CC Capture for proper operation!
When a USB cable connects the Computer and instrument on the screen, there should be a message:
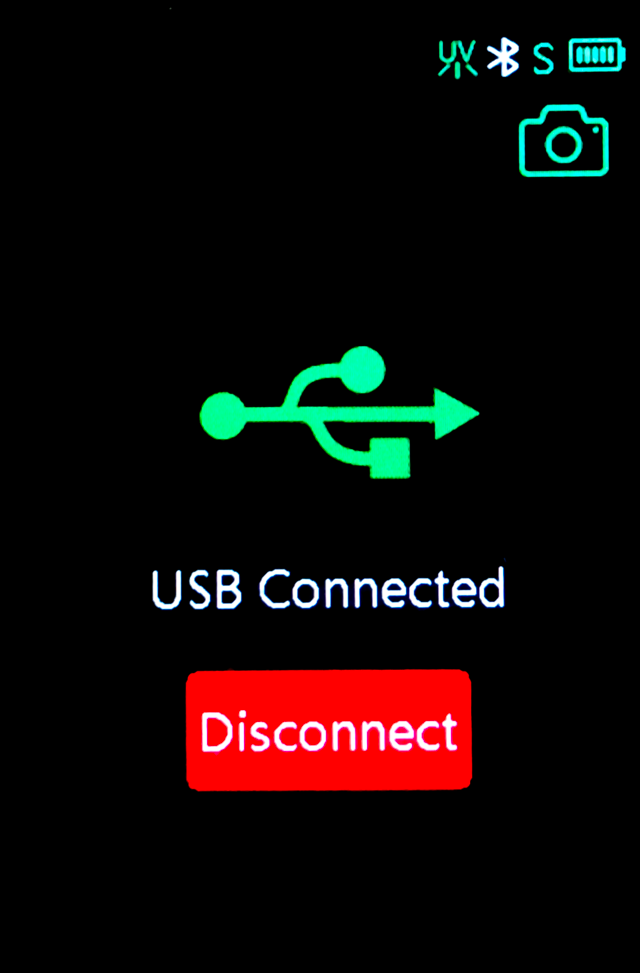
If not, replug it.
At this moment, launch CC Capture, enter the Organisation name, and Click the "Connect" button.
Optionally You may select auto-connect on application startup and change the default calibration time.
Contact ChromaChecker Support
Additional information and Support Form is available for logged users.